


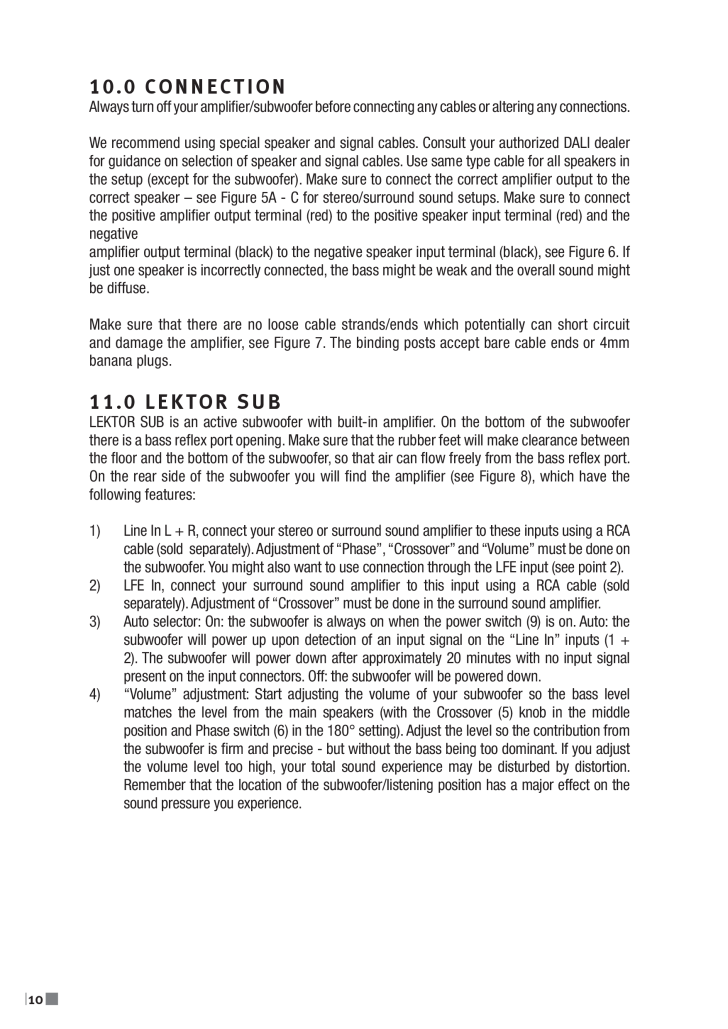
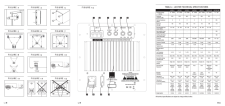


1010.0 CONNECTIONAlways turn off your ampliier/subwoofer before connecting any cables or altering any connections.We recommend using special speaker and signal cables. consult your authorized DALI dealer for guidance on selection of speaker and signal cables. use same type cable for all speakers in the setup (except for the subwoofer). Make sure to connect the correct ampliier output to the correct speaker – see Figure 5A - c for stereo/surround sound setups. Make sure to connect the positive ampliier output terminal (red) to the positive speaker input terminal (red) and the negativeampliier output terminal (black) to the negative speaker input terminal (black), see Figure 6. If just one speaker is incorrectly connected, the bass might be weak and the overall sound might be diffuse.Make sure that there are no loose cable strands/ends which potentially can short circuit and damage the ampliier, see Figure 7. the binding posts accept bare cable ends or 4mm banana plugs.11.0 LEKTOR SUBLEKtOR SuB is an active subwoofer with built-in ampliier. On the bottom of the subwoofer there is a bass relex port opening. Make sure that the rubber feet will make clearance between the loor and the bottom of the subwoofer, so that air can low freely from the bass relex port. On the rear side of the subwoofer you will ind the ampliier (see Figure 8), which have the following features:1) Line In L + R, connect your stereo or surround sound ampliier to these inputs using a RcA cable (sold separately). Adjustment of “phase”, “crossover” and “Volume” must be done on the subwoofer. You might also want to use connection through the LFE input (see point 2).2) LFE In, connect your surround sound ampliier to this input using a RcA cable (sold separately). Adjustment of “crossover” must be done in the surround sound ampliier.3) Auto selector: On: the subwoofer is always on when the power switch (9) is on. Auto: the subwoofer will power up upon detection of an input signal on the “Line In” inputs (1 + 2). the subwoofer will power down after approximately 20 minutes with no input signal present on the input connectors. Off: the subwoofer will be powered down.4) “Volume” adjustment: Start adjusting the volume of your subwoofer so the bass level matches the level from the main speakers (with the crossover (5) knob in the middle position and hase switch (6) in the 180° setting). Adjust the level so the contribution from the subwoofer is irm and precise - but without the bass being too dominant. If you adjust the volume level too high, your total sound experience may be disturbed by distortion. Remember that the location of the subwoofer/listening position has a major effect on the sound pressure you experience.

