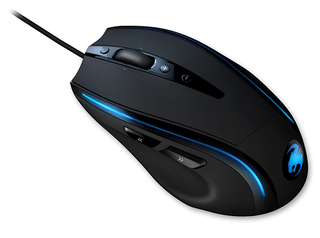
0Creating a Macro (Basic Editor) Step : Click the upper line in the left-hand window. In the following dropdown menu you can add a macro set (Add Macro Set) or delete one (Delete Macro Set). Click ‘Add Macro Set’. Step : Give your macro set a name. To make things clearer, use a general name for the events in the game you’re playing. For example, you can name the set ‘Magic buffs’ or ‘Weapons arsenal’ or just give it the name of the game. Step 3: If you click ‘New’ under the left-hand window, you can assign a name to the individual macro like ‘Arcane rotation’ or ‘Sniper rile’. Conirm the name by hitting the return key.Step 4: Now you can enter a macro. To do that, click the ‘Start Record’ button in the right-hand window. Enter the key combination which you need for a special action in the game. The option ‘Record delays between key commands’ is located under the record button. This option allows you to determine how long a certain key should be pressed for. As a result it’s possible to create a macro that instructs a igure in the game to only perform a speciic action after a pre-determined period.Step 5: Click ‘Stop Record’ once you’re done entering your key combination via the keyboard. You can now either record an additional macro in the macro set you’ve created or create a new macro set. Click ‘OK’ when you’re done. The macro can now be assigned to any one of the eight programmable buttons. You can assign the macro to a button by clicking onto the arrow next to the box of the button you want the macro to be assigned to. In the following dropdown menu choose ‘Assign Menu’. All available macro sets are now displayed. Select the one containing your macro of choice and then click on the respective macro.Note: You’ll need to assign the macro to the desired mouse button again even if you’ve edited a macro that is already assigned to a particular button. Step 6:Assign the function to the mouse by clicking the ‘Apply’ button without exiting the ROCCAT menu. It may take a few seconds until the information is transferred to the mouse. You can now store and save these settings under one of the ive proiles that can be stored on the mouse. Proiles will be easier to manage if you name them after the game, gamer or program. Note: A running macro can be ended at any time by clicking on the button again.MACRO MAnAGER


![前ページ カーソルキー[←]でも移動](http://gizport.jp/static/images/arrow_left2.png)


