AN-52AG6の取扱説明書・マニュアル [全76ページ 35.61MB]
an52ag6_mn.pdf
http://www.sharp.co.jp/.../an52ag6_mn.pdf - 35.61MB
- キャッシュ
44585view
76page / 35.61MB
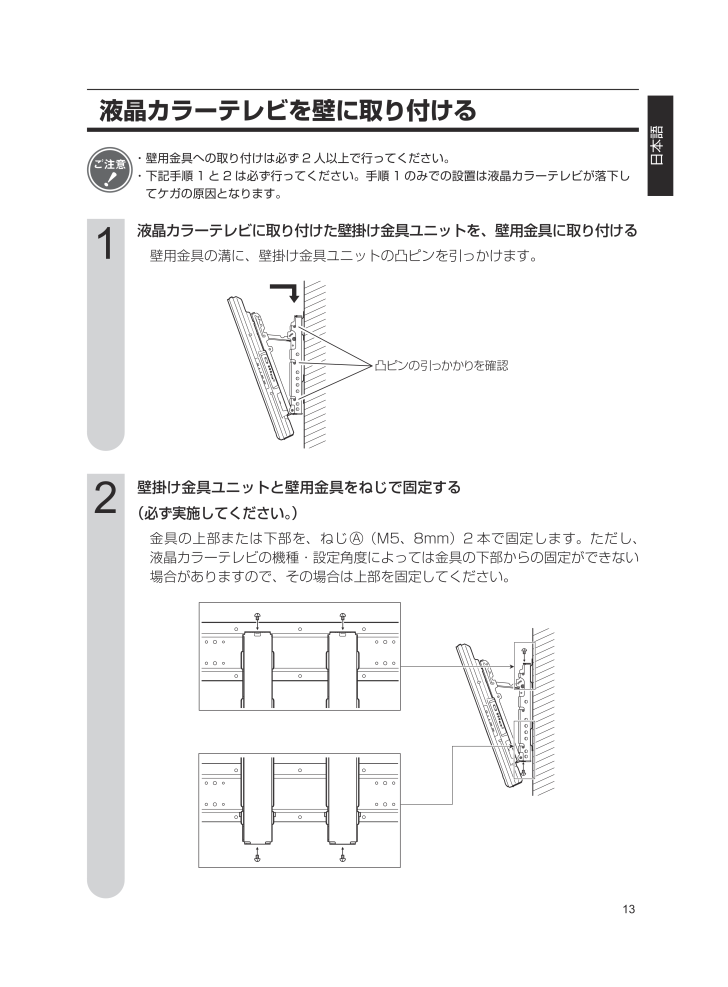
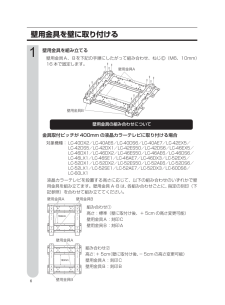
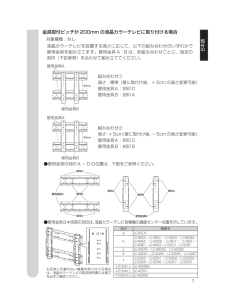
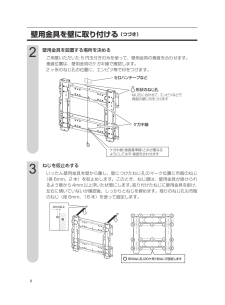
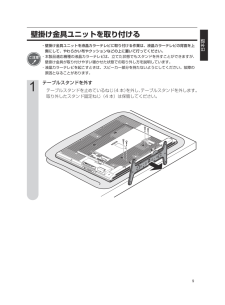
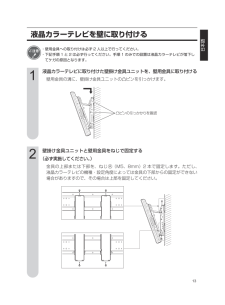
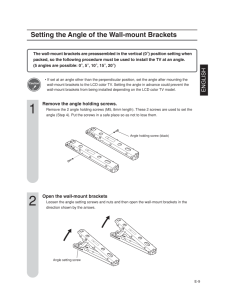
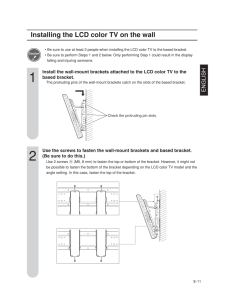
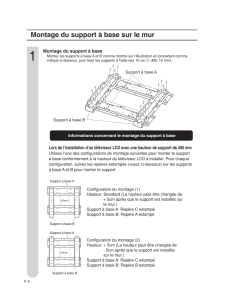
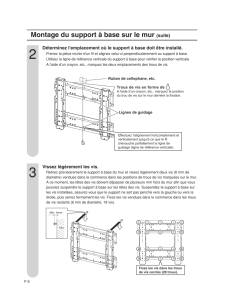
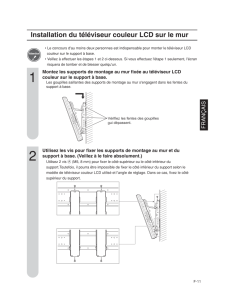
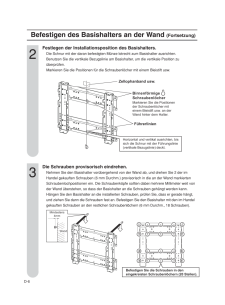
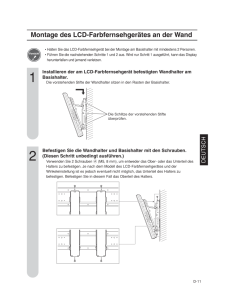
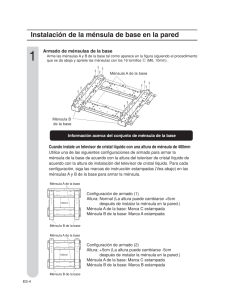
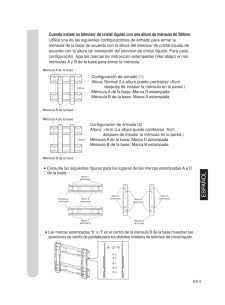
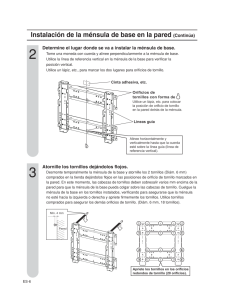
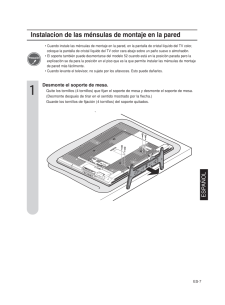
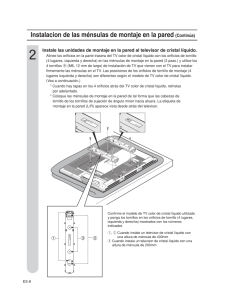
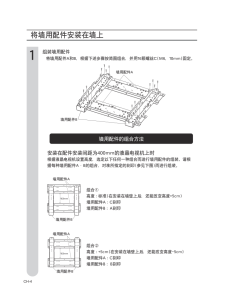
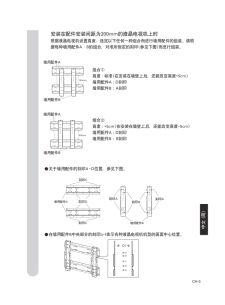
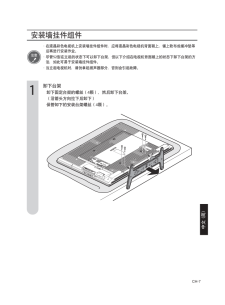
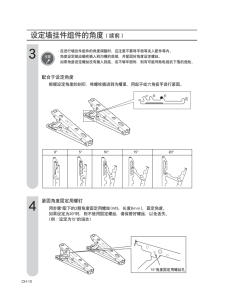
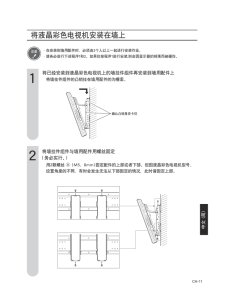
13日本語液晶カラーテレビを壁に取り付ける・壁用金具への取り付けは必ず 2 人以上で行ってください。・下記手順1と2は必ず行ってください。手順 1 のみでの設置は液晶カラーテレビが落下してケガの原因となります。液晶カラーテレビに取り付けた壁掛け金具ユニットを、壁用金具に取り付ける壁用金具の溝に、壁掛け金具ユニットの凸ピンを引っかけます。1壁掛け金具ユニットと壁用金具をねじで固定する(必ず実施してください。)金具の上部または下部を、ねじ (M5、8mm)2本で固定します。ただし、液晶カラーテレビの機種・設定角度によっては金具の下部からの固定ができない場合がありますので、その場合は上部を固定してください。2凸ピンの引っかかりを確認AN-52AG6.ind 13 AN-52AG6.indd 13 10.4.27 4:10:4 PM 10.4.27 4:10:44 PM
参考になったと評価
 34人が参考になったと評価しています。
その他の取扱説明書

7757 view