IQX 635の取扱説明書・マニュアル [全32ページ 0.30MB]
123146.pdf
http://153.127.246.254/.../123146.pdf - 0.30MB
- キャッシュ
6147view
32page / 0.30MB
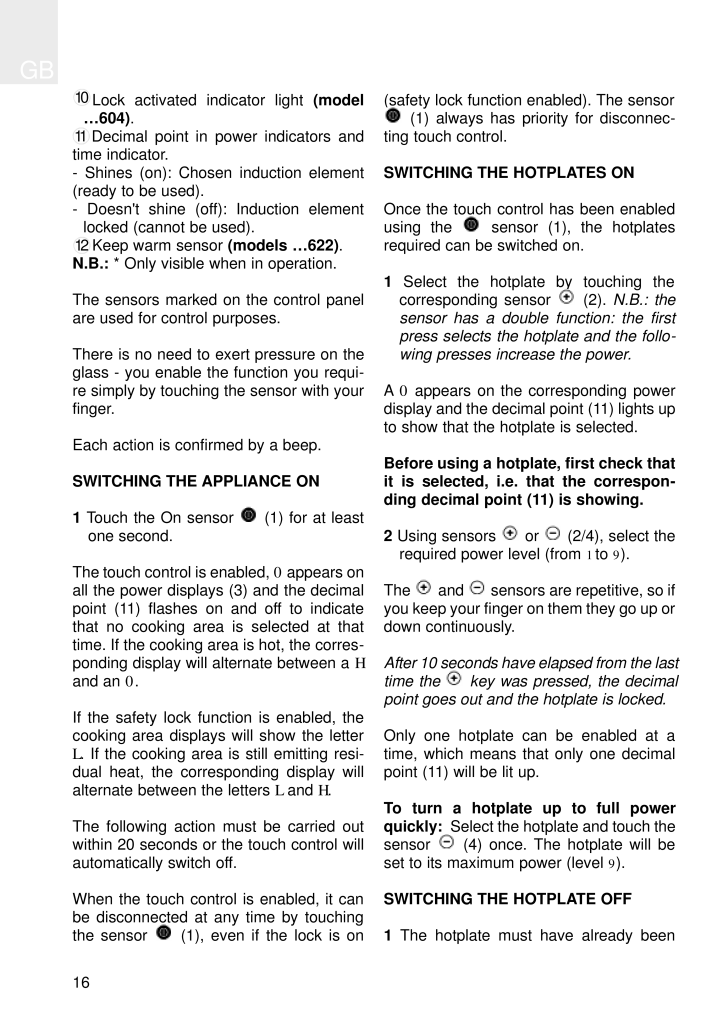
Lock activated indicator light (modelチc604) . Decimal point in power indicators andtime indicator.- Shines (on): Chosen induction element(ready to be used).- Doesn't shine (off): Induction elementlocked (cannot be used).Keep warm sensor (models チc622) .N.B.:* Only visible when in operation.The sensors marked on the control panelare used for control purposes. There is no need to exert pressure on theglass - you enable the function you requi -re simply by touching the sensor with yourfinger.Each action is confirmed by a beep.SWITCHING THE APPLIANCE ON1Touch the On sensor (1) for at leastone second.The touch control is enabled, 0appears onall the power displays (3) and the decimalpoint (11) flashes on and off to indicatethat no cooking area is selected at thattime. If the cooking area is hot, the corres -ponding display will alternate between a Hand an 0.If the safety lock function is enabled, thecooking area displays will show the letterL. If the cooking area is still emitting resi -dual heat, the corresponding display willalternate between the letters Land H.The following action must be carried outwithin 20 seconds or the touch control willautomatically switch off.When the touch control is enabled, it canbe disconnected at any time by touchingthe sensor (1), even if the lock is on(safety lock function enabled). The sensor(1) always has priority for disconnec -ting touch control.SWITCHING THE HOTPLATES ON Once the touch control has been enabledusing the sensor (1), the hotplatesrequired can be switched on.1Select the hotplate by touching thecorresponding sensor (2). N.B.: thesensor has a double function: the firstpress selects the hotplate and the follo -wing presses increase the power.A 0appears on the corresponding powerdisplay and the decimal point (11) lights upto show that the hotplate is selected.Before using a hotplate, first check thatit is selected, i.e. that the correspon -ding decimal point (11) is showing.2Using sensors or (2/4), select therequired power level (from 1to 9).The and sensors are repetitive, so ifyou keep your finger on them they go up ordown continuously.After 10 seconds have elapsed from the lasttime the key was pressed, the decimalpoint goes out and the hotplate is locked.Only one hotplate can be enabled at atime, which means that only one decimalpoint (11) will be lit up.To turn a hotplate up to full powerquickly: Select the hotplate and touch thesensor (4) once. The hotplate will beset to its maximum power (level 9).SWITCHING THE HOTPLATE OFF 1The hotplate must have already been GB16111210
参考になったと評価
 3人が参考になったと評価しています。
その他の取扱説明書

8284 view

5082 view