


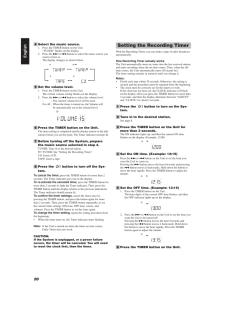
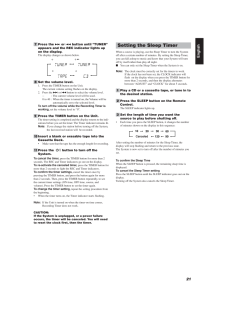


21EnglishSetting the Sleep TimerWhen a source is playing, use the Sleep Timer to turn the Systemoff after a certain number of minutes. By setting the Sleep Timer,you can fall asleep to music and know that your System will turnoff by itself rather than play all night.nYou can only set the Sleep Timer when the System is on.Note:The clock must be correctly set for the timers to work.If the clock has not been set, the CLOCK indicator willflash on the display when you press the TIMER button formore than 2 seconds, and then the display alternatesbetween "ADJUST" and "CLOCK" for about 5 seconds.1 Play a CD or a cassette tape, or tune in tothe desired station.2 Press the SLEEP button on the RemoteControl.The SLEEP indicator lights up.3 Set the length of time you want thesource to play before shutting off.* Each time you press the SLEEP button, it changes the numberof minutes shown on the display in this sequence:After setting the number of minutes for the Sleep Timer, thedisplay will stop flashing and return to the previous state.The System is now set to turn off after the number of minutes youset.To confirm the Sleep TimeWhen the SLEEP button is pressed, the remaining sleep time isdisplayed.To cancel the Sleep Timer settingPress the SLEEP button until the SLEEP indicator goes out on thedisplay.Turning off the System also cancels the Sleep Timer.1020 306090120Canceled7 Press the c or 4 button until "TUNER"appears and the REC indicator lights upon the display.The display changes as shown below.8 Set the volume level.1. Press the TIMER button on the Unit.The current volume setting flashes on the display.2. Press the c or 4 button to select the volume level.-- : The current volume level will be used.0 to 40 : When the timer is turned on, the Volume will beautomatically set to the selected level.To turn off the volume while the Recording Timer isworking, set the volume level to "0".9 Press the TIMER button on the Unit.The timer setting is completed and the display returns to the indi-cations before you set the timer. The Timer indicator remains lit.Note:If you change the station before turning off the System,the last received station will be recorded.10 Insert a blank or erasable tape into theCassette Deck.* Make sure that the tape has the enough length for recording.11 Press the button to turn off theSystem.To cancel the timer, press the TIMER button for more than 2seconds. The REC and Timer indicators go out on the display.To re-activate the canceled timer, press the TIMER button formore than 2 seconds to light the REC and Timer indicators.To confirm the timer settings, cancel the timer once bypressing the TIMER button, and press the button again for morethan 2 seconds. Then, press the TIMER button repeatedly, to seethe current timer settings (ON time, OFF time, source, andvolume). Press the TIMER button to set the timer again.To change the timer setting, repeat the setting procedure fromthe beginning.* When the timer turns on, the Timer indicator starts flashing.Note:If the Unit is turned on when the timer-on time comes,Recording Timer does not work.CAUTION:If the System is unplugged, or a power failureoccurs, the timer will be canceled. You will needto reset the clock first, then the timer.EN12-22.UX-V10/V20R[E] 00.1.20, 7:04 PM 21
参考になったと評価 11人が参考になったと評価しています。

Copyright © 2013 Gizport.jp All Rights Reserved.
